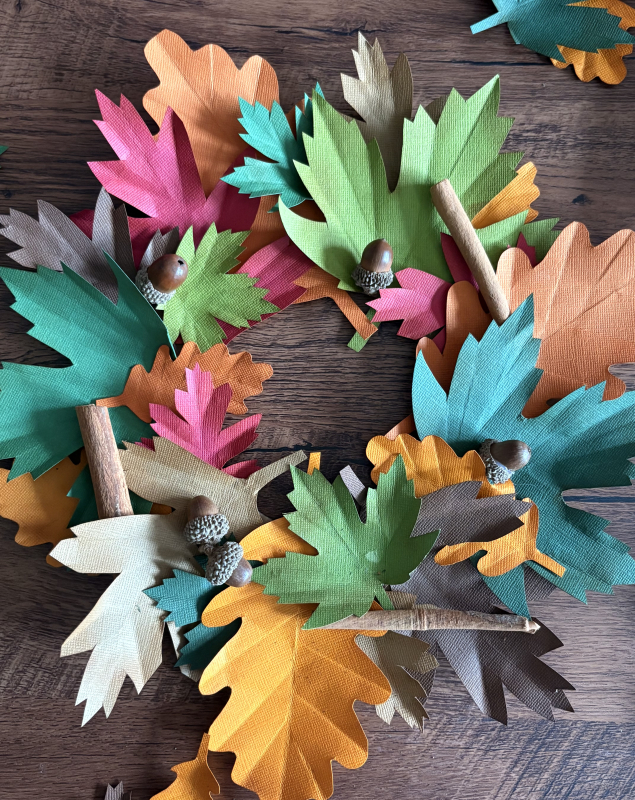
There’s something magical about autumn that makes me want to craft beautiful seasonal decorations for our home. Today, I’m sharing one of my favourite papercraft projects – a stunning autumn wreath that’s perfect for busy mums who want to add a touch of seasonal charm without breaking the bank or spending hours on complicated crafts.
This papercraft autumn wreath is not only budget-friendly but also incredibly satisfying to make. Whether you’re new to papercrafts or have been crafting for years, this tutorial will guide you through creating a gorgeous wreath that’ll have your neighbours asking where you bought it!
Why I Love Papercraft Wreaths
As someone who’s been crafting for years, I’ve discovered that paper wreaths offer so many advantages:
- Budget-friendly: You can create stunning results with basic craft supplies
- Weather-resistant: Unlike natural wreaths, paper versions won’t wilt or attract insects
- Customisable: Easy to match your home’s colour scheme
- Long-lasting: Store carefully and use year after year
- Perfect for beginners: Forgiving material that’s easy to work with
What You’ll Need
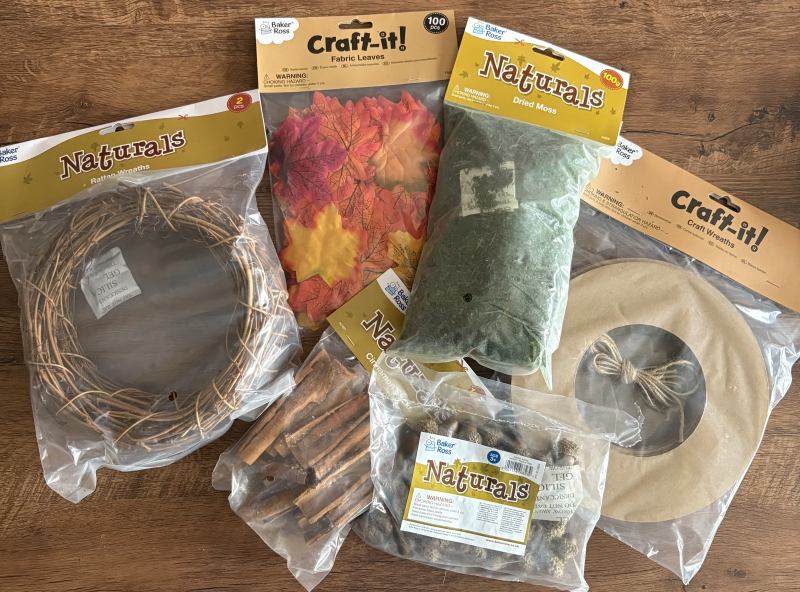
Before we start, gather these supplies (most of which you probably already have in your craft stash!):
Essential Materials:
- Foam or cardboard wreath base
- Autumn-coloured cardstock or scrapbook paper (oranges, reds, yellows, browns)
- Craft glue or hot glue gun with glue sticks
- Scissors
- Pencil
- Ruler
Optional Extras:
- Leaf templates or cookie cutters
- Scoring tool
- Ribbon for hanging
- Autumn embellishments (paper acorns, berries)
- Distress ink for aging effects
Step-by-Step Tutorial
Step 1: Prepare Your Base
If using a foam wreath, wrap it in brown paper or paint it brown so no white shows through your finished project. For cardboard bases, you can leave as-is since it’ll be completely covered.
Step 2: Create Your Leaf Templates
Draw or print leaf shapes in various sizes – aim for 3-4 different sizes for visual interest. Popular autumn leaf shapes include:
- Oak leaves
- Maple leaves
- Birch leaves
- Simple oval leaves
Top Tip: If you’re not confident drawing freehand, trace around real leaves or search online for free printable leaf templates!
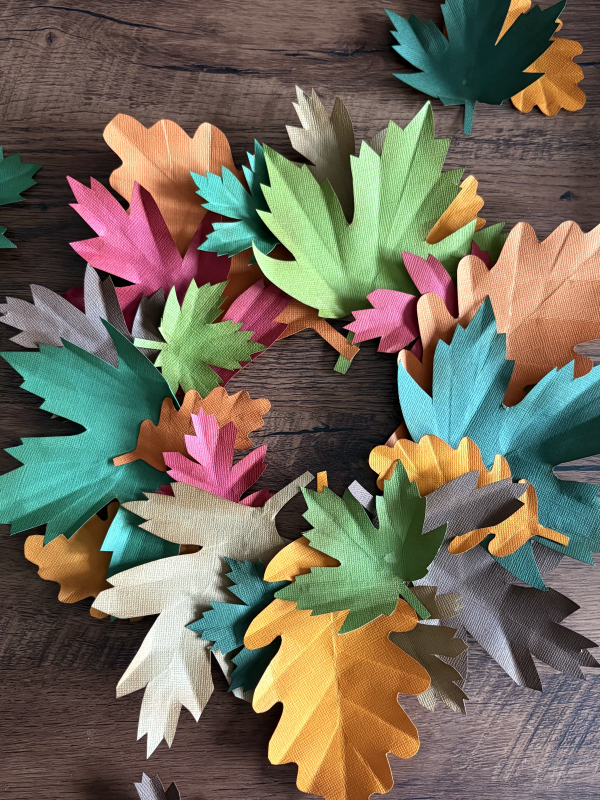
Step 3: Cut Your Paper Leaves
Using your templates, cut approximately 60-80 leaves from your autumn-coloured papers. Don’t worry about making them perfect – slight variations add to the natural, handmade charm!
Colour Distribution:
- 40% warm oranges and reds
- 30% golden yellows
- 20% deep browns
- 10% burgundy or deep red accents
Step 4: Add Dimension to Your Leaves
This step makes all the difference! For each leaf:
- Gently score down the centre with a scoring tool or empty ballpoint pen
- Fold slightly along the score line
- Gently curl the edges upward for a natural look
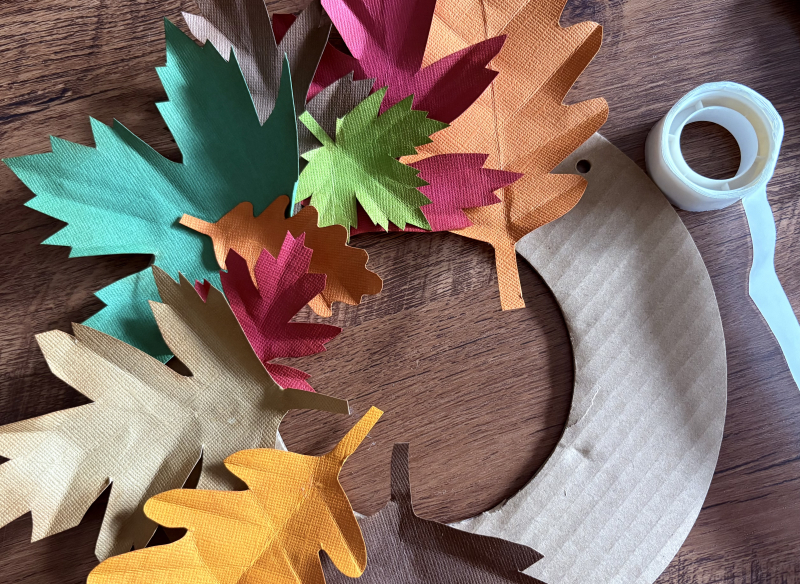
Step 5: Plan Your Layout
Before gluing, arrange leaves around your wreath base. Start with larger leaves as your foundation, then layer smaller ones on top. Aim for a full, abundant look with leaves overlapping naturally.
Step 6: Attach Your Leaves
Working in sections, glue leaves to your base:
- Start with your largest leaves, spacing them evenly
- Layer medium leaves, filling gaps
- Add smallest leaves last for detail and texture
- Vary the angles and overlap for a natural appearance
Gluing Tip: Apply glue only to the centre of each leaf, leaving edges free to curl naturally.
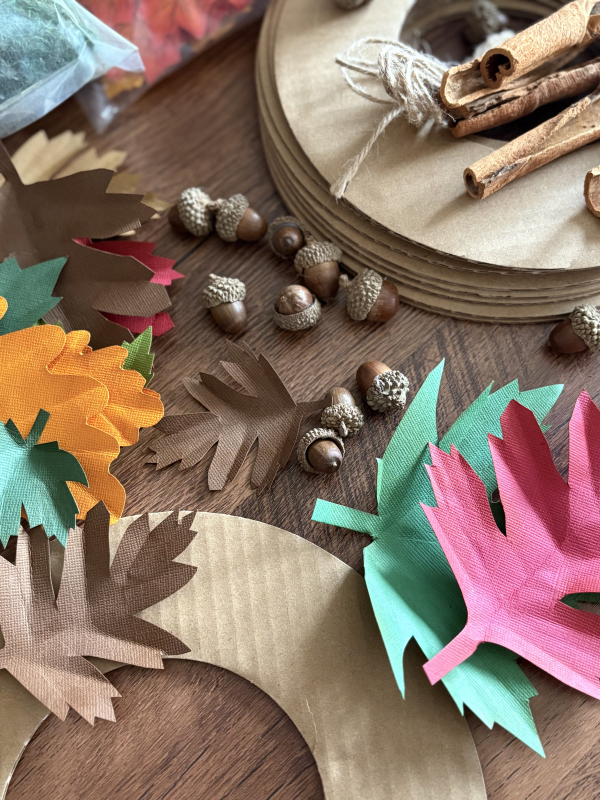
Step 7: Final Touches
- Add any embellishments like paper acorns or berries
- Attach a ribbon loop for hanging
- Step back and add extra leaves to any sparse areas
Styling Your Autumn Wreath
Your beautiful papercraft wreath will look stunning:
- On your front door: Welcome guests with autumn charm
- Above a mantelpiece: Perfect seasonal focal point
- In a window: Catches beautiful autumn light
- On interior doors: Spread autumn joy throughout your home
Variations to Try
Once you’ve mastered the basic technique, experiment with these ideas:
Ombré Autumn Wreath
Arrange colours from light to dark around the wreath for a stunning gradient effect.
Metallic Accent Wreath
Add gold or copper metallic paper leaves for extra elegance.
Mini Wreaths
Create smaller 6-inch versions for individual place settings or gift decorations.
Mixed Media Wreath
Combine paper leaves with fabric flowers or natural elements like pine cones.
Storage Tips
To keep your wreath looking beautiful year after year:
- Store flat in a large box with tissue paper
- Keep in a dry location away from direct sunlight
- Handle gently when moving
- Dust lightly with a soft brush if needed
Why This Craft Works for Busy Families
As someone who’s juggled crafting with family life for years, I love this project because:
- Flexible timing: Work on it in stages when you have time
- Kid-friendly: Children can help with cutting and arranging
- Minimal mess: Just paper scraps to clean up
- Budget-conscious: Uses affordable materials
- Impressive results: Looks far more expensive than it is!
Troubleshooting Common Issues
Wreath looks sparse? Add more leaves, focusing on smaller sizes to fill gaps.
Leaves won’t stay curled? Try scoring more deeply or using slightly heavier paper.
Colours look flat? Add depth with distress ink around leaf edges or include more colour variation.
Glue showing? Use less glue and ensure it’s only in the centre of each leaf.

Final Thoughts
Creating this papercraft autumn wreath has become one of my favourite seasonal traditions. There’s something so satisfying about transforming simple paper into something beautiful that brings joy to our home throughout the autumn months.
The best part? Every wreath turns out unique, reflecting your personal style and colour preferences. Don’t aim for perfection – embrace the handmade charm that makes this craft so special.
I’d love to see your finished wreaths! Feel free to share photos and let me know how your crafting adventure goes. Happy autumn crafting!
Have you tried making paper wreaths before? What’s your favourite autumn craft project? Share your thoughts in the comments below!
